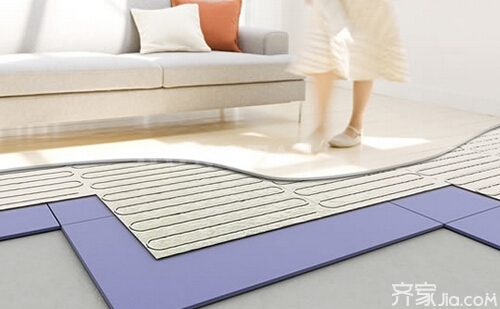
There are many advantages to floor heating: Ground floor heating is the most comfortable heating method. The indoor surface temperature is even and the room temperature gradually decreases from the bottom up, giving people a good feeling of cooling their feet. It is not easy to cause contaminated air and clean indoor air. Improve blood circulation and promote metabolism. Speaking of warmth, you are sure to be familiar, and bring warmth to our interior. When we buy it back to the floor and warm it up, what are the warming steps ? Then we work together to understand the next steps to warm the installation.
| Floor heating installation step 1 , |
Install the water collector and place the assembled water collector on the wall according to the position and elevation determined in advance according to the actual situation in the user's home, and fasten it firmly against the wall and fix it with expansion bolts. In order to prevent the loss of heat, it is necessary to put a special insulation cover for the pipe connecting the manifold to the installation room. Connect the jacket with the insulation jacket to the manifold, and connect the end of the pipeline to its thermostatic valve. After the pipe is laid, the pipe's cover is transferred back to the manifold and fixed.
| Floor heating installation step 2 |
Leveling the ground to warm before the official start of laying, we must first clean up the floor of the interior to ensure the formation of the ground, eliminating the uneven surface and debris. Then, it is necessary to conduct an on-site inspection of the entire home to determine the installation position of the boiler and the manifold.
| Floor heating installation step 3, |
The main pipe for installing the main heating pipe must use hot water pipe. PP-R or aluminum plastic pipe can be used. The pipe drawing is strictly installed and the installation is straight and tidy.
| Floor heating installation step 4 , |
The installation temperature control line is slotted at the place where the distributor is installed, the temperature control line is buried, and the relevant temperature control line is placed around it for connection.
| Warm installation steps 5 , |
Laying insulation layer The insulation board shall be laid smooth, neatly cut, tightly connected to each other, the entire board shall be placed around, the cutting board shall be placed in the middle, and the flatness of the insulation board shall be taken into account when laying, and the height difference shall not exceed plus or minus 5MM. The gap is not more than 5mm.
| Floor heating installation step 6 , |
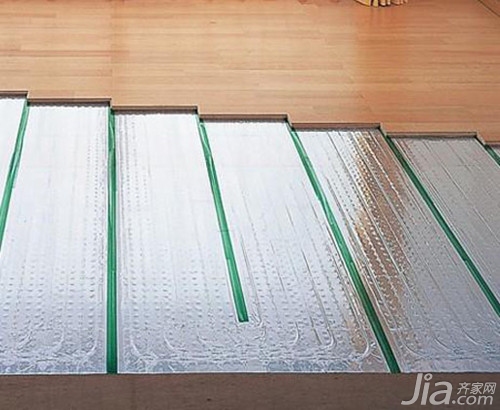
Laying a reflective film The reflective film must be laid flat with no wrinkles. Cover tightly, no leakage of insulation board or ground phenomenon. The reflective film is symmetrical and neat, and there must be no wrong phenomenon. The reflective film must be affixed with transparent tape or aluminum foil tape. High-quality reflective film and standard laying can reflect 99% of the heat.
| Floor heating installation step 7 , |
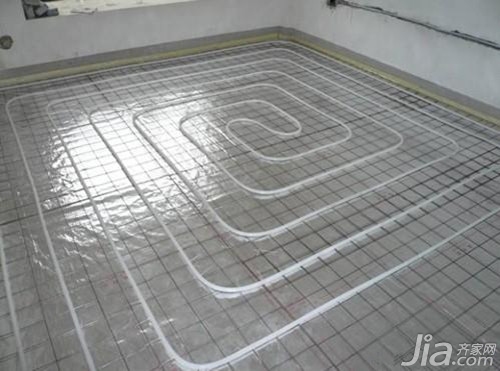
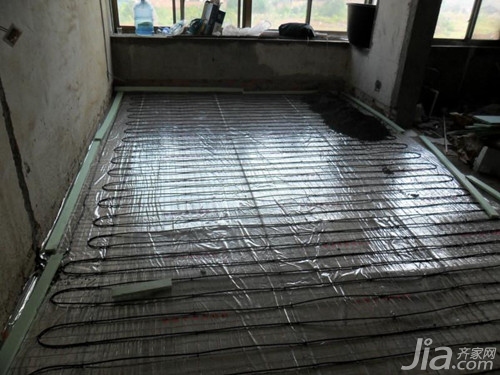
The floor heating pipe laying floor heating pipe shall be laid according to the pipe spacing and orientation calibrated on the design drawings, shall be kept straight, and the pipe shall be fixed on the extrusion board or fixed on the wire mesh with plastic clips according to the drawings. When the installation is interrupted or completed, the opening should be closed at any time. To cut the floor heating pipe, special tools should be used; the cuts should be flat and the fracture surface should be perpendicular to the axis of the pipe.
| Warm installation steps 8, |
After the pipeline pressure test floor heating pipe is laid, it is required to carry out a hydrostatic test, and the pipeline is first subjected to water pressure flushing and purging to ensure that there is no foreign matter in the pipeline. Then from the water injection valve to inject clean water, the test pressure of 1.5 to 2 times the working pressure, but not less than 0.6Mpa, pressure drop within 1 hour is not greater than 0.05Mpa, and infiltration is not acceptable.
| Floor heating installation step 9 , |
Filling and leveling the ground backfilled fine stone concrete shall all be artificially pressured and compacted. The horizontal line of the entire house must be maintained at a height, and no wire mesh exposure shall occur. When laying concrete, markings must be made at entrances, aisles, floor drains, etc. to prevent improper heating in later construction from damaging the pipeline.
| Warm installation steps 10, |
Install the wall-hung boiler according to the dimensions of the wall-hung boiler, and reserve the size before installation, the position of the flue, and then install the wall-hung boiler after correcting the correct position. The bottom interface of the boiler is connected with a hose.
Conclusion: Floor heating is a radiant heating system that has a higher thermal efficiency than convection heating, where the concentration of heat is beneficial to the human body; heat loss during the transmission process is small; low-temperature ground radiation heating can be controlled by a separate household, and the user can control it according to the situation and effectively save energy. energy. In low-temperature floor heating, plastic pipes or heating cables are buried underground, without scaling or corrosion, and their service life is synchronized with the building. Convection heating saves maintenance and replacement costs. Regarding the floor heating installation procedure , I will introduce it to you in general. I hope to be helpful to you, and I would like to look forward to seeing more information on this site.
Warm
Sample Preserving Solution,Virus Sample Collection Tube,Inactivated Viral Transport Tube,Inactivated Viral Transport Kit
Guangzhou Baybio Bio-tech Co., Ltd , https://www.gzbaybio.com